Init guide

PACKAGE CONTENT


Before starting up your Slimbook Kymera
1. Take a look at the following video:
Here you’ll see how to unbox your Kymera.
2. Assemble the loose accessories.
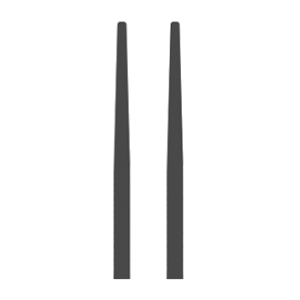
If you chose the Wi-Fi card option, attach the antennas.

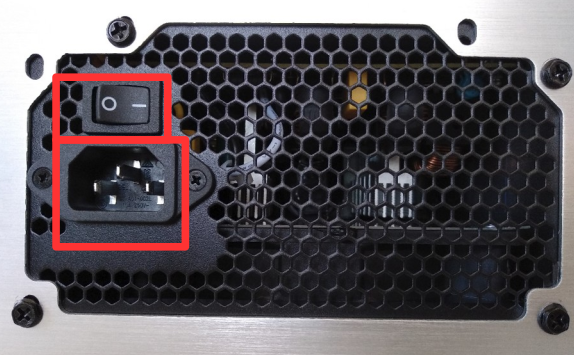
3. Power Supply
Connect the power supply cable and switch it on to allow electricity to flow to your computer.
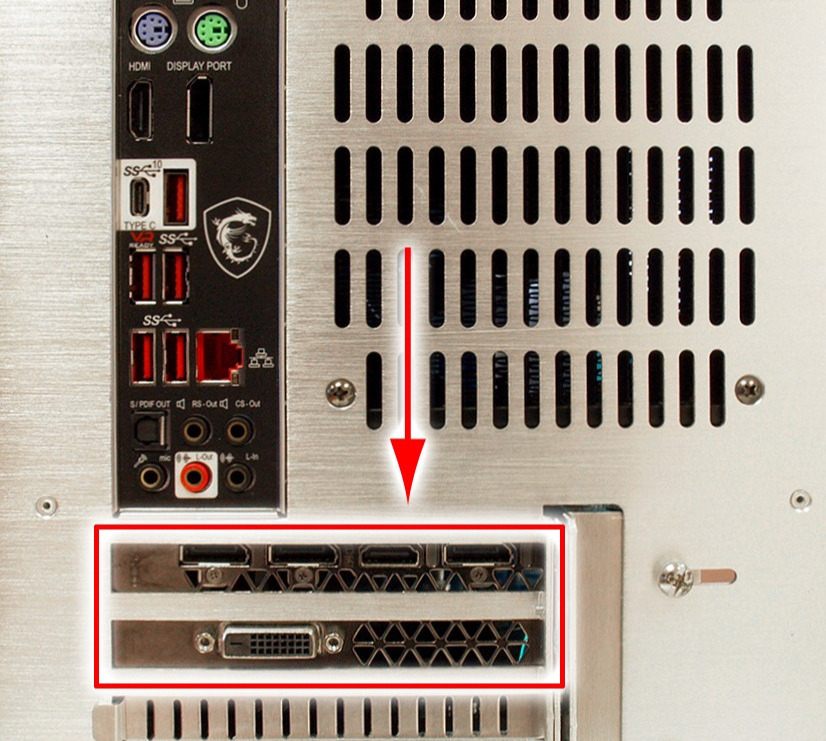
4. Monitor Connection
It’s important that when connecting any monitor to use Kymera, you plug it into the video output ports of the graphics card, not the motherboard.
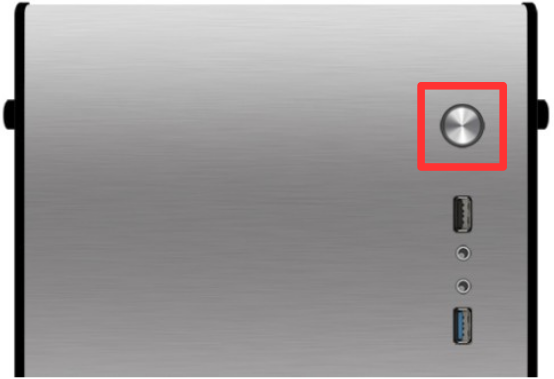
5. Turn on your new Kymera.
RGB Control (optional)
If the configuration you chose for your Kymera supports the OpenRGB application, it will come pre-installed, allowing you to turn the RGB lights on or off through the app.
If the chosen configuration does not support the application, you can turn the RGB lights on or off using the ‘BRG 12V/RGB’ connector on the motherboard (similar to the one in the image below) by connecting or disconnecting the cable from the fan/heatsink.

MOTHERBOARD SECURITY
To enter the BIOS, press DEL or SUPR during startup. Avoid using wireless keyboards—it's better to connect a USB wired keyboard to the back of the computer. (Some motherboard models may use a different key to access the BIOS; check according to your model.)
Avoid changing unknown parameters, this could cause boot to fail.
To enter the boot menu, press the key corresponding to your motherboard model (the most common are F7, F8, F10, and F11, but this may vary depending on your specific motherboard). Your USB boot device must be set as UEFI/Secure Boot or Legacy according to the BIOS configuration; otherwise, it won’t appear in the list.
You’ll know the motherboard model used in your computer because it will be indicated on its original packaging, where your exact model is specified. Of course, you can always ask us at info@slimbook.com info@slimbook.com
RECOMMENDATIONS
Try to keep vent holes clean and unobstructed.
It is recommendable to clean the vent holes with a brush or similar, as well as clean the components inside from time to time.
Use appropriated protection to carry the computer, avoid crushings and try not to place objects such as the charger over or under it.
It's recommended not to use your device when temperature is over 35 degrees.
ANOTATIONS
To turn on your computer, connect the power supply, then connect a monitor/television via HDMI and finally press the power button located on the top.
If your Linux distribution allows OEM installation (without creating a user), you will be asked to create a user, a password and then, to configure your network.
Otherwise, the user will have already been created by us, so, your username and password will be 'slimbook'. Feel free to customize it.
This device is composed of standard parts that can be upgraded or replaced:
-
Memorias RAM
-
SSD M.2 SATA o NVME
-
2.5" HDD or SSD, via SATA3.
If you need to open your device without losing warranty you just have to contact us, and we will reply as soon as possible.
To open the computer, remove the screws at the back, and help yourself with a elongated object to extract the top cover through the central hole in the back.